curlコマンド
# curl -H 'accept: appcurl -H 'accept: application/dns-json' 'https://1.1.1.1/dns-query?name=blog.4star.link&type=A'
普通にdigコマンドでもいいけど、jsonフォーマット返してくれたり便利。
開発備忘録
# curl -H 'accept: appcurl -H 'accept: application/dns-json' 'https://1.1.1.1/dns-query?name=blog.4star.link&type=A'
普通にdigコマンドでもいいけど、jsonフォーマット返してくれたり便利。
ボクの環境用に備忘録
$ find ./ -type f -print | xargs grep -n '検索文字'
ただ、この方法だとファイル数が多いと検索結果がでるまで遅い。
もうこの方法を使っている人は少ないはず。
で、
$ ag '検索文字'
$ sudo yum install the_silver_searcher
$ brew install the_silver_searcher
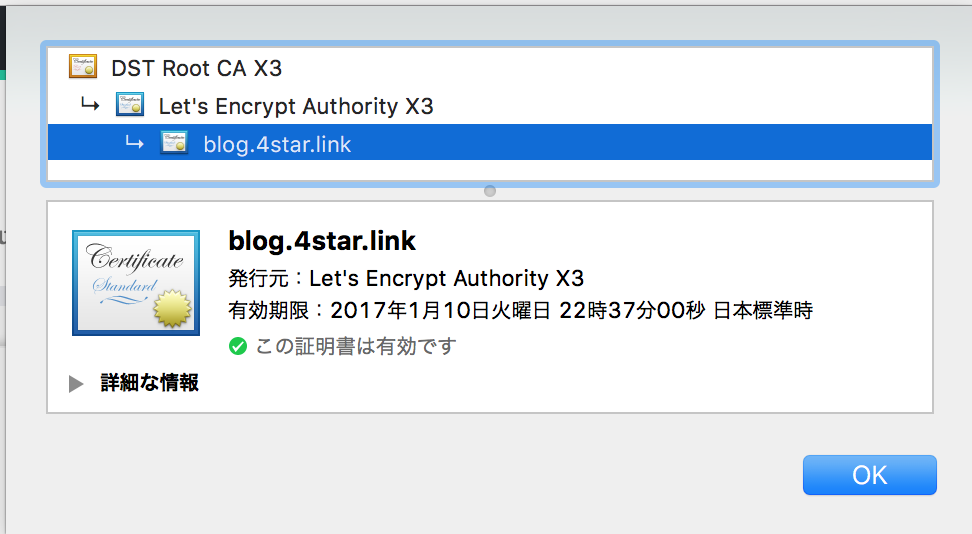
無料SSLで有名なLet’s encryptを、利用させて頂いており、
それの有効期限3ヶ月と短く、その有効期限が迫ったので、更新対応した際のメモ
導入はほぼ200%こちらのサイト様を参考にさせていただきましたm( _ _ ; )m
http://qiita.com/sak_2/items/ff835b669c0a7e110b09
そもそも自動化しろよって話ですが、
手動で更新した際のメモw
$ cd /etc/letsencrypt/live/blog.4star.link/
cert.pem       chain.pem      fullchain.pem  privkey.pem
cert.pem -> ../../archive/blog.4star.link/cert1.pem
chain.pem -> ../../archive/blog.4star.link/chain1.pem
fullchain.pem -> ../../archive/blog.4star.link/fullchain1.pem
privkey.pem -> ../../archive/blog.4star.link/privkey1.pem
$ ./letsencrypt-auto renew
$ ./letsencrypt-auto renew
Saving debug log to /var/log/letsencrypt/letsencrypt.log

-------------------------------------------------------------------------------
Processing /etc/letsencrypt/renewal/blog.4star.link.conf
-------------------------------------------------------------------------------
Cert is due for renewal, auto-renewing...
Starting new HTTPS connection (1): acme-v01.api.letsencrypt.org
Renewing an existing certificate
Performing the following challenges:
tls-sni-01 challenge for blog.4star.link

-------------------------------------------------------------------------------
Port 443 is already in use by another process. This will prevent us from binding
to that port. Please stop the process that is populating the port in question
and try again.  For automated renewal, you may want to use a script that stops
and starts your webserver. You can find an example at
https://certbot.eff.org/docs/using.html#renewal . Alternatively you can use the
webroot plugin to renew without needing to stop and start your webserver.
-------------------------------------------------------------------------------
Cleaning up challenges
Attempting to renew cert from /etc/letsencrypt/renewal/blog.4star.link.conf produced an unexpected error: At least one of the (possibly) required ports is already taken.. Skipping.

All renewal attempts failed. The following certs could not be renewed:
  /etc/letsencrypt/live/blog.4star.link/fullchain.pem (failure)
1 renew failure(s), 0 parse failure(s)
必要なポートが既に使われているらしい。
$ netstat -tanplsof -i:80
nginxで使っているので一旦停止(サービスが止まるので注意!
$ service nginx stop
$ ./letsencrypt-auto renew
Saving debug log to /var/log/letsencrypt/letsencrypt.log

-------------------------------------------------------------------------------
Processing /etc/letsencrypt/renewal/blog.4star.link.conf
-------------------------------------------------------------------------------
Cert is due for renewal, auto-renewing...
Starting new HTTPS connection (1): acme-v01.api.letsencrypt.org
Renewing an existing certificate
Performing the following challenges:
tls-sni-01 challenge for blog.4star.link

-------------------------------------------------------------------------------
Port 443 is already in use by another process. This will prevent us from binding
to that port. Please stop the process that is populating the port in question
and try again.  For automated renewal, you may want to use a script that stops
and starts your webserver. You can find an example at
https://certbot.eff.org/docs/using.html#renewal . Alternatively you can use the
webroot plugin to renew without needing to stop and start your webserver.
-------------------------------------------------------------------------------
Cleaning up challenges
Attempting to renew cert from /etc/letsencrypt/renewal/blog.4star.link.conf produced an unexpected error: At least one of the (possibly) required ports is already taken.. Skipping.

All renewal attempts failed. The following certs could not be renewed:
  /etc/letsencrypt/live/blog.4star.link/fullchain.pem (failure)
1 renew failure(s), 0 parse failure(s)
また同じエラーが。。。
。。。。
。。。。。
何度か同じエラーがでたあと、
$ ./letsencrypt-auto renew
Saving debug log to /var/log/letsencrypt/letsencrypt.log

-------------------------------------------------------------------------------
Processing /etc/letsencrypt/renewal/blog.4star.link.conf
-------------------------------------------------------------------------------
Cert is due for renewal, auto-renewing...
Starting new HTTPS connection (1): acme-v01.api.letsencrypt.org
Renewing an existing certificate
Performing the following challenges:
tls-sni-01 challenge for blog.4star.link
Waiting for verification...
Cleaning up challenges
Generating key (2048 bits): /etc/letsencrypt/keys/0001_key-certbot.pem
Creating CSR: /etc/letsencrypt/csr/0001_csr-certbot.pem

-------------------------------------------------------------------------------
new certificate deployed without reload, fullchain is
/etc/letsencrypt/live/blog.4star.link/fullchain.pem
-------------------------------------------------------------------------------

Congratulations, all renewals succeeded. The following certs have been renewed:
  /etc/letsencrypt/live/blog.4star.link/fullchain.pem (success)
で
$ service nginx start
証明書が更新されていない。。。。
生成されたpemファイルをチェック。。。
pemが複数連番になってつくられている、、
/archive/blog.4star.link/cert1.pem
/archive/blog.4star.link/cert2.pem
僕の場合archiveのファイルをnginx.confに指定していたので、
生成された番号のつきの名前の方を変更。。
人力でファイルを変更。。。w
nginx.conf
ssl_certificate /etc/letsencrypt/archive/blog.4star.link/fullchain**2**.pem;
ssl_certificate_key /etc/letsencrypt/archive/blog.4star.link/privkey**2**.pem;
ssl_trusted_certificate /etc/letsencrypt/archive/blog.4star.link/fullchain**2**.pem;
あとは、
せいや。。。!!!!
$ service nginx start

大分出遅れた感がありますが、最近cakephp3のサービスを構築したので、
それを兼ねてメモ。
早速、cakephp3の公式サイトでインストール方法を確認。
http://book.cakephp.org/3.0/ja/installation.html
システム要件を確認すると。。。
システム要件
HTTPサーバー。例: Apache。mod_rewrite が推奨されますが、必須ではありません。
PHP 5.5.9 以上 (PHP 7 も含む)
PHP mbstring 拡張
PHP intl 拡張
…(PHP 7も含む)!
せっかくなので、速いとウワサのphp7に、php-fpmと、nginxの構成で、
yumでインストールしてみました!!
CentOS7にのりかえて、ちょっと焦ったのでめも。
ちょっと触ると逆に6よりわかりやすいかもw
# rpm -ivh http://apt.sw.be/redhat/el7/en/x86_64/rpmforge/RPMS/rpmforge-release-0.5.3-1.el7.rf.x86_64.rpm
# rpm -ivh http://dl.fedoraproject.org/pub/epel/7/x86_64/e/epel-release-7-5.noarch.rpm
# rpm -ivh http://rpms.famillecollet.com/enterprise/remi-release-7.rpm
# yum update
CentOS7から デフォルトでserviceコマンドではなく、systemctlコマンドでサービスを管理するようになった。
nginxのインストール
# yum install nginx
# systemctl status nginx.service
# systemctl start nginx.service
# systemctl enable nginx.service
※php-fpm.d/www.conf のuser と group を apahce → nginx へ
php-fpmのインストール
# yum install php-fpm php-mbstring php-gd  php-mysql php-redis
# systemctl status php-fpm.service
# systemctl start php-fpm.service
# systemctl enable php-fpm.service
redisのインストール
# yum install redis
# systemctl status redis.service
# systemctl start redis.service
# systemctl enable redis.service
$sudo yum install docker
$sudo docker --version
curlでインストール
$sudo sh -c "curl -L https://github.com/docker/fig/releases/download/0.5.2/linux > /usr/bin/fig"
$sudo chmod +x /usr/bin/fig
$sudo fig --version
僕の場合これで下記のようなエラーになったが、
fig: /lib64/libc.so.6: version `GLIBC_2.14' not found (required by /tmp/_MEIieSV5R/libz.so.1)
↓
pipでインストールすると
$sudo yum install python-pip
$sudo pip install -U fig
$fig --version
fig 1.0.1
おお、成功!!
あとはfig.ymlなどつくって、fig up